Thursday, February 28, 2013

Specimen Art Super-Sized -Tutorial and My Easter Mantel

I got out my Easter Decor Bins last weekend.  I am always so excited to open my holiday bins up to be reminded what goodies I got on sale at the end of last year's holiday.  Well, this year I was dissapointed.  There was one wreath that my daughter HAD to have (at 6 months old) at Michael's that I was excited to see.  Other than that- disappointed.   I tried to use what I had to make a pretty Easter mantel- but it was looking an awful lot like last year... This is when I knew it was time to MAKE SOMETHING NEW!  But what?!  I took a little time for some Pinterest Inspiration and found this beauty-by Craftberry Bush.

I love the look of the shabby frames and the book page backgrounds.  I've been intrigued by this type of art for a while now, called "Specimen Art"- it is all over Pinterst in many different themes.  I decided to go for it.  Madisyn was napping and I really wanted to have something to put on my Spring Mantel, so I decided to see what I could come up with- with materials I already had.

My sister gave me about 15 books of fabric samples last summer- I've used a few sheets here and there, but never as the feature of a project.  I saw them stacked neatly on the shelf of my Craft Table and a light bulb went off.

I also had a mish-mash of old frames with very old photos on my craft room window sill.  I took the photos out and jazzed them up with a little GOLD spray paint.
I remembered I have a very old Encyclopedia sitting around waiting for me to do something with it....

First Steps:

  • Created a Stencil out of cardboard to cut around for both sizes of my eggs.
  • Picked out and cut my fabric samples out of the books.
  • Tore pages out of my vintage encyclopedia and cut them down to fit inside my frames.
  • Glued each Egg to the book page with Tacky Glue

I decided to go two diffferent routes with this project and ended up with two different results.  I did do the traditional Specimen Art approach with one of my gold frames. 

Mini Specimen Art

  • Spread a bead of Tacky Glue around the inside of the frame where I wanted my book page to attach.
  • Carefully laid my book page face down inside the frame and ran my finger around the edges to make sure the glue would adhere.
  • Let dry upside down like this for a little bit.
  • And turned it over to reveal my beautiful piece of art!

Specimen Ar Super-Sized

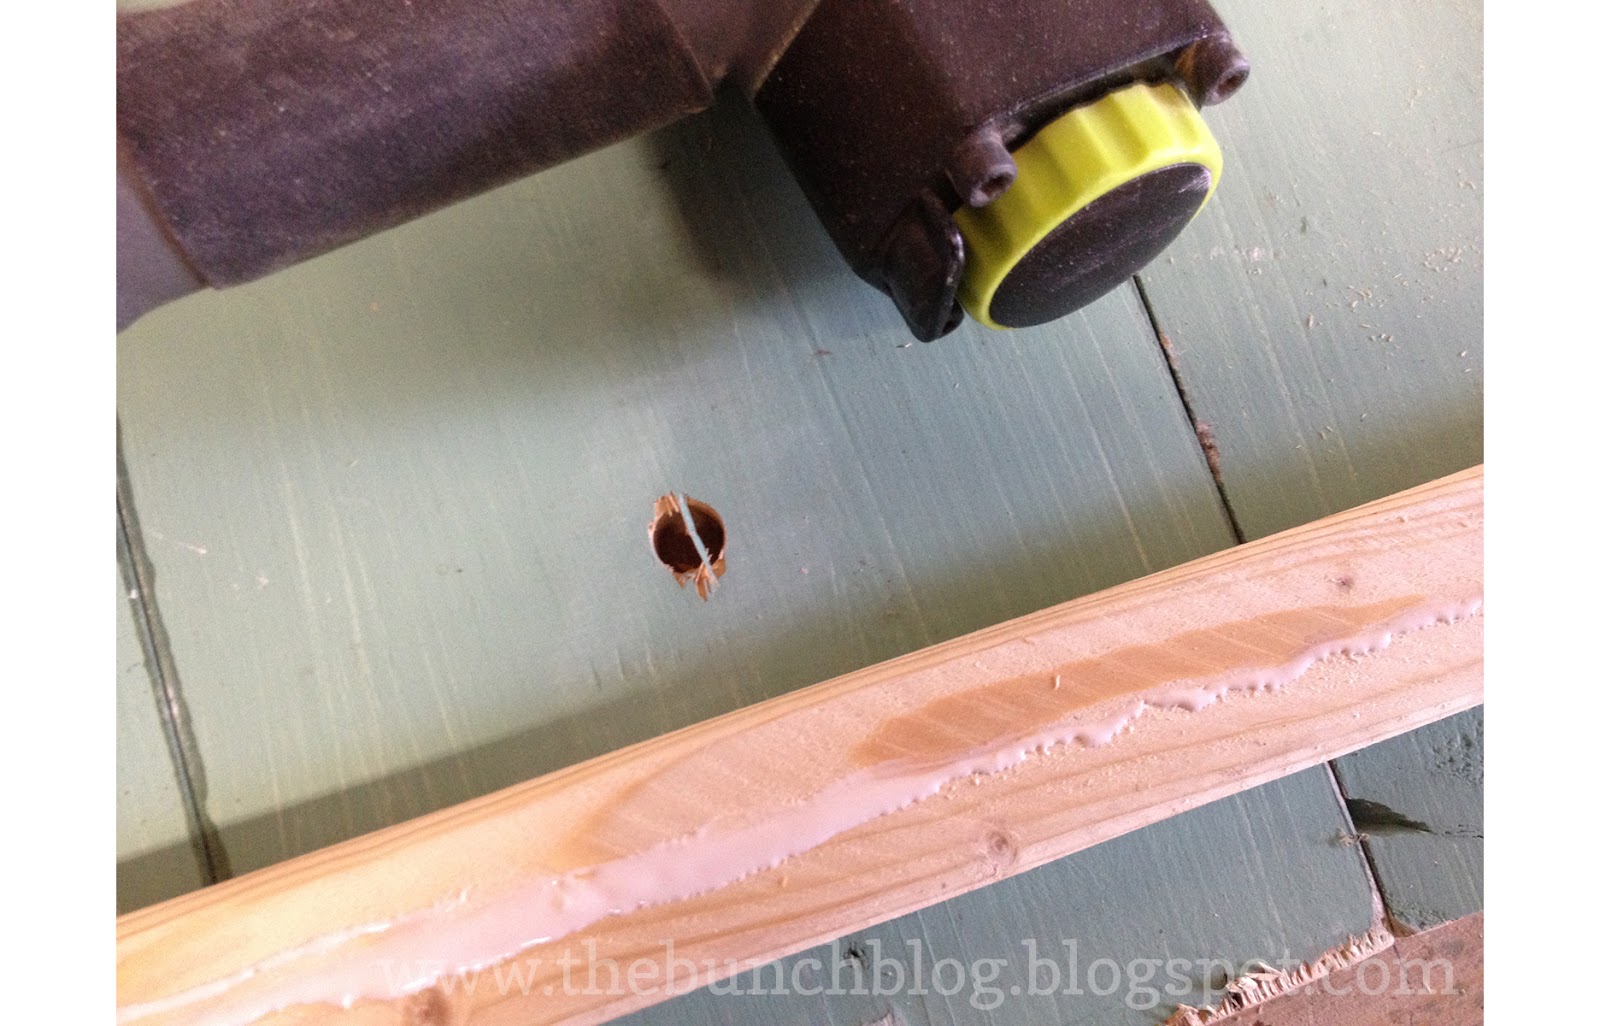
The second approach I took, was a variation on the style- I like to call it "Specimen Art Super-Sized".  The look I decided I was going for was more rustic than the gold frames I painted would provide.  Lucky for me, I hand-crafted around 30 Rustic Frames for my wedding and I still have a few sitting around the house unused!  I used Anna White's great Barnwood Frame Plan to build these- so easy, I hope you give it a try!

  • Glued each Super-Sized Egg (cut with my large stencil I made) into the middle of it's own book page.
  • Repeat for 6 eggs.
  • I didn't want to make the use of these frames permanent for Easter, so I decided to thumb tack my book pages into place for these frames- that way I can remove them if I want to put them to a different use!
I made six of these- each with a different texture and color hue than the others.  And I absolutely LOVE the way they turned out for my Easter Mantel.  Below are photos of my Easter Decor- Enjoy!


Other Noteworthy Elements to my Design:


  • The Branches are in vases with water- they are Cherry Blossom Branches from my front yard, and they have PINK BLOOMS!!! I will post a photo in a week or so when they open- they are SO beautiful!
  • The Rustic Candle Sticks are made from scrap 4x4- aren't they great?
  • Vintage Sheet Music is shredded for nest stuffing under my Craft Paper Eggs.
  • The ADORABLE baby photos are my daughter Madisyn- I thought the style and coloring of these photos went well with the concept, so I found this frame I've had for 15 years on a shelf and added them in- She's our little Easter Bunny.
Our mantel wraps around our fireplace towards our front door (2 sides of our fire place are exposed).  That other side always has to be done up as well since that is what you see when you open our front door- I went with a slightly more Chic look on that side-

And, to tie everything together, I placed the Small Egg Specimen Art Frame on the shelf on the wall of my dining room.


I hope these Vignettes inspire you to start working on your Easter Decor!  Have a great day and thanks for reading!


Beyond The Picket Fence
The Shabby Nest  UndertheTableandDreaming

Monday, February 25, 2013

You Light Up My Life- Lamp Sign Tutorial and BONUS Vinyl Tutorial

You Light Up My Life


Is that not one of the sweetest quotes you could put on a wall?!  I just love it and could not pass up the opportunity to make something special with it when my sister asked me if I could create something like this------------->
Lola Floral was participating in the Woodinville Weddings Event and the planner she was working with found the image of this Lamp Sign online somewhere and wanted it for the show, but could not find it to buy anywhere.  "No problem", I said, I got you covered.  

More is always better

I figured if I was going to to make ONE of these, they were SO COOL, I might as well get enough supplies to make a few.  So, I headed to Lowe's and purchased the materials.
I also had the great idea while I was there to make the Lamp actually WORK!  So, I also grabbed some electrical wire, caps and plugs to make it happen.  

The Woodwork

I put Madisyn down for a nap, and headed into the garage (with the monitor on, of course).  I had picked out two reclaimed wood boards I knew I wanted to use, and I also had bought 2 new pine wood boards to use to make 4 total.  I measured each board and divided that number by 4 so I knew how long to cut each of the 4 sections that would go together to make the sign.
  •  I cut each section by setting the 1st cut on top of the board I was cutting.  I lined the Chop Saw Blade up with the edge of the first cut, that way there is less measuring involved (I hate measuring) and each board ends up pretty darn close to the same length because you are using the board itself to measure.
  • After I had all 4 boards the same length, I used my Black and Decker Mouse Sander (which I love), to smooth all the edges.  I wanted these signs to have a rustic look, so even though this was a reclaimed board that had been painted green, It was ok with me for some of the natural wood to show through, it just enhanced the rustic look I was going for.
  • Then, I laid out my lamp fixture to see where I wanted it to line up on the sign.  


  • I marked on the board where I liked the light fixture (distance from the edge of the board) with a light pencil mark.  Then, measured in from each side of the board to find the middle.  This is where I drilled my hole for the electrical cord to come through.  I used a 3/4 inch bit because I knew it would create a hole large enough for the cord to easily slip through.  *Its important to drill this hole before you secure all 4 boards together with the "nailer board" on back so you can make sure you get it placed where you want it, without having to work around the "nailer board"*
  • See those rough edges the drill created?  No problem, just sand them off.  
  • Next I laid out my boards face down (the side that will be the sign face is down on my work bench) and cut some scrap 1x2 long enough to secure all 4 boards together.  Before securing them together I made sure all the ends lined up straight.  


  • I spread a generous amount of Gorilla Glue wood glue on one side of the "nailer board" and turned the glue side down onto the back sides of my sign boards.  To make sure it is secure, I finished them off with my Craftsman Finish Nailer.


  • And voila'- you have the Woodwork part of your sign complete!

Wiring

Next I tackled the wiring.  The lamp I chose was meant to be an outdoor light fixture- the kind you put next to your garage door.  It was under $5 and I LOVE the rustic mason jar look it has.  Because it is meant to be hard wired into a wall, we had to alter the wiring so that it could be plugged into a wall.  I asked my husband to work on this with me, just to make sure I was doing it correctly.  

Materials:


First off- I unscrewed the Electrical plug and took it apart so I could connect one end of the wire to it.  To expose the wires inside the insulation, I stripped the plastic off the wire using my wire strippers.  
*Here is a simple YouTube Video on using wire strippers in case you need to learn*
After I exposed the 2 wires and the ground inside the insulation, I then stripped each wire of its coating using the wire strippers as well.

I then took each exposed wire and connected them inside the plug.  White goes to the ground.  Green to negative and black to positive. I tightened each screw against the wire and then pulled the plug cover back over the top and screwed that back together.  This completes the PLUG side of the cord.  
I cut my cord to about a 5 foot length, and slid the cord through the hole on my sign so that the plug came out the back of the sign.  
On the other side, I stripped the wires just as before and matched each color wire to its corresponding wire on the light fixture itself.  I used the wire caps to connect the wires and ground, just by twisting till it was tight.

I tucked all the caps and the wires behind the cover of the fixture and screwed the fixture onto the board!  All that was left was a light bulb and the Mason Jar and the wiring was complete.

Vinyl Time

There are some simple steps to follow to effectively apply vinyl to a surface.  I've been using vinyl for a long time now, and forgot that there once was a learning curve.  I was reminded at the Valentine's Day Pinterest Party that some people have never worked with it before, and even if they have- they might not know the tricks and tips I've learned over the years to make it as "stuck to itself proof" as possible.  You are in luck- I will share them with you HERE!

  • I use my Silhouette Cutting Machine to cut my vinyl.  Once its cut, peel the negative space away from the lettering and discard ***BE VERY CAREFUL- if the piece is large, the parts you've peeled off could stick back to the part you are still peeling and ruin the whole cut- this always makes me want to scream and cry***
  • I cut each word section apart from the other and lay it out on my sign to make sure I like how it looks before moving any further.  ***Now is the time to make changes, cause once the vinyl is stuck, its stuck!****
  • Next is applying transfer paper to your vinyl.  I had no idea, that some people either didn't know about transfer paper, or actually CHOOSE NOT TO USE IT?!  This is crazy to me!  If you have an intricate design, it would be absurd to hand apply each little sticker?!  Well, some people are doing it, I don't recommend it.  I recommend transfer paper!  You can purchase it at Silhouette's Online Shop if you'd like to give it a try! 
  • A trick I've learned in working with transfer paper alone is to stick it to a clean, dry surface- then pull on the roll to unravel it to the size you need to cover over your design.  Then its easy to cut without it getting stuck to itself *** Which also makes me want to cry when it happens (often).***
  • Once its cut, lay it over your design- starting in one corner and gently push towards the other till it is all stuck.  Use a credit card to push out any air bubbles and make sure every little centimeter is stuck properly.
  • Next, un-stick the transfer paper from your surface (leaving your vinyl design and paper backing attached).  Turn the design over on your surface so that the non sticky side of the transfer paper is on the table.  Carefully peel the paper backing away from the vinyl.  The non sticky side of the vinyl will stick to the transfer paper, exposing the sticky side of the vinyl.
  • Carefully apply your vinyl sticker to your sign- working from one corner slowly to the other just like you did the transfer paper.  Sometimes it helps to trim all excess transfer paper away from the vinyl so you can see your design better when applying it, making sure it goes exactly where you want it.  ***Because once its stuck, its stuck- if you don't like it, you have to peel it off and its garbage.***
  • Use your credit card again to smooth out your vinyl- sometimes air bubbles get caught underneath it and they can be smoothed out with the pressure from the card.
  • Once its all smooth, slowly peel away the transfer paper from the wood making sure that the design is sticking.  ***Sometimes you will need to give certain parts an extra rub with the credit card as you are peeling away the transfer paper to get the vinyl really stuck.***
  • I did this for each of my word sections on the sign and it was complete!
Here is my project complete- I had too high Watt light bulb in it when I took the photos- so when its on, its REALLY bright- but you get the idea.  I love it and hope you do too!
I hope this tutorial inspires you to do one of 3 things:

  1. Use more than one skill or technique in your next project (such as wiring, and woodworking)- its really satisfying to use more than one of your many skills in one project!
  2. Attempt your first project with vinyl*** and PLEASE, use transfer paper!***
  3. Or, make this!  (If you love it, but don't want to or feel you can't make it- you are in luck- you can find some available in the bunch's Etsy store!)


Tuesday, February 19, 2013

Our First Giveaway- Feeling LUCKY?!

Inspired

I was inspired this morning by Ucreate's "Pinch Proof" St. Patrick's Day Tutorials blog post.  So many cute ideas, I had to share.  But the LUCKY thing about it- I feel like its time the bunch does its first GIVEAWAY!!!
I recently had a custom order for a Little Man Bow Tie- I had SOOO much fun making it and can't wait to make more!  .... what should appear in the list of tutorials featured by Ucreate this morning?!  A Bow Tie Tutorial.  

So, here's the scoop

If you win, you get to pick from either:

  • A GREEN Little Man Bow Tie by the bunch- looking just like this.


  • Or an adorable 4 Leaf Clover Applique' St. Patrick's Day Onesie or T-shirt (tutorial also featured by Ucreate- originally from icandy handmade)

(photo from icandy handmade)

TO ENTER

  1. Follow the bunch store on facebook (1 entry)
  2. Subscribe to the bunch's blog- on the main page there is a box on the top right (1 entry)
  3. Post about this giveaway on your blog (1 entry)
  4. Share the bunch store with your facebook friends (1 entry)
  5. Share the bunch's blog with your friends on facebook (1 entry)
Please leave a comment below for each entry and include a link to your share or post where applicable- make sure we have your email address!

Now some of you may be thinking- I don't have a little man or little girl to wear either of these chic items- well, I am SURE each of you have SOMEONE in your life that would appreciate one or the other- and how LUCKY would they feel to receive such a random act of craftiness.

Have a LUCKY day-

Monday, February 18, 2013

In Need of Spring

5 Simple Spring Decor Ideas

Are you in need of a little Spring?  I am!  Seattle had almost NO SNOW this winter- which makes me really sad- as I do enjoy having snowy days.  Winter is drawing to a close and everything is very green and showing small signs of life for this new year.  I'm going to help it come a little faster by incorporating some simple decor ideas for my home. These will only take a few minutes, and bring so much cheer!
I found 5 great ideas in the blog world to share with you.


1.  Spring Blossoms 

by The English Home- Clip a few stems of the bulbs you have popping up here and there and arrange them in unique dollar store or thrift store bud vases on a vintage mirror.  


2. Front Door Wreath

A wreath on the front door is a great way to welcome yourself home with a little cheer.  It sets my mood each time I enter my home to be greeted by a little bit of seasonal beauty.  The 36th AVENUE put together a great list of Spring Wreath Tutorials to share with you!


3. Non Traditional

Or.... Are you hoping for a little cheer on the door step but wanting to do something new and different this year?  I've been inspired by a couple adorable photos of "Umbrella Wreaths" on Pinterest- What do you think?!
Better Homes and Gardens gives some tips on how to make one yourself.


4.  Planted Rain Boots

tatortots & jello put together a blog post in 2011 with some super cute Spring Ideas and it includes one of my all time FAVORITES.  I have a fence along the backside of our yard that is in perfect view from our dinning room and kitchen windows- and I will gather rain boots from thrift stores to plant my Primroses in this week!  So fun!

5.  Spring Subway Art

I made this Cheery Subway Art for you to DOWNLOAD!  Click the image to be directed to the high resolution file.  You can save and print or upload to your favorite printer to have it done for you!  Take an unused 8x10 photo frame and spray paint it a bright color, place the subway art inside and you have a practically free piece of decor! Enjoy!

I hope these ideas will inspire you to take an hour this week and add a little spring decor to brighten up your home- until Spring really does come!

The 36th AVENUE

Thursday, February 14, 2013

Valentine's Day Pinterest Party

Happy Valentine's Day Friends!  

In the spirit of love- thank you for following my blog and being such a loyal fan!  I want to share with you something that you will LOVE if you are addicted to Pinterest and like to craft holiday decor!  
A good friend of mine, Melissa Flores, started a trend in my crafty little world a few months ago when she invited me to a Halloween Pinterest Party.  Since she hosted the Halloween Version, I've invited all my friends over for a Christmas and Valentines day Parties!  
"What's a Pinterest Party," you say?!  Well, here is the wording from my invitations:
***A side note about invitations:  I just create an event on facebook to invite my friends- Its easiest for people to RSVP that way and I don't have to spend time making invitations,  because you know I wouldn't be able to just do something simple- BUT, if you have the time and the desire- themed invitations would be adorable as well!)***


Make sense?  Its SOOOO fun!  

Lets start with food.  

Valentines is associated with sweets, and it seemed like that's what inspired my friends for this party.
The Strawberry Shortcake was so good, we didn't get a photo before it was gone, so I graciously borrowed the photo from the beautiful blog, Stone Gable.  Lindsay and Jodi brought items that were recipes of their own; the Muffins (which she subbed quinoa flour, flax meal as an egg replacement and used coconut oil instead of canola, then sprinkled coconut on top) and the Guacamole- those were also BIG HITS and I didn't get photos of them, so sorry.

And for the Setting

Hosting any gathering at my house is a benefit to me.  It forces me to spend a morning gathering all the loose ends around my house and putting them where they belong.  It feels so good when everything is in its place!  Hosting also means that I get to make my house pretty with the themed decor BEFORE everyone comes over!  Here are a few shots of some of the Valentines Decor I put up for the party (and to enjoy afterwards with the additions I created at the party).

And finally, our Projects:

You can click each image for the PIN to find the tutorial!

Everything turned out so well!

It is so nice to have conversation with my lady friends on a regular basis- and this crafty gathering is a GREAT EXCUSE!  If you would like to start hosting Pinterest Party's and need a little help, I'd love to answer any questions- please don't hesitate to contact me!  I'll close with a couple of photos of the projects I got to make added into my Valentine Decor.  Thank you to Heather for taking some awesome photos!
Again, Happy Valentine's Day to you- I hope it is full of LOVE!  So excited for our Easter Edition Party in two weeks!


Blogging tips