
Hi All- It's feeling strange to me that Easter is less than two weeks away. Is St. Patrick's Day always this close to Easter? Maybe its just me?!
Madisyn's Photo-Shoot
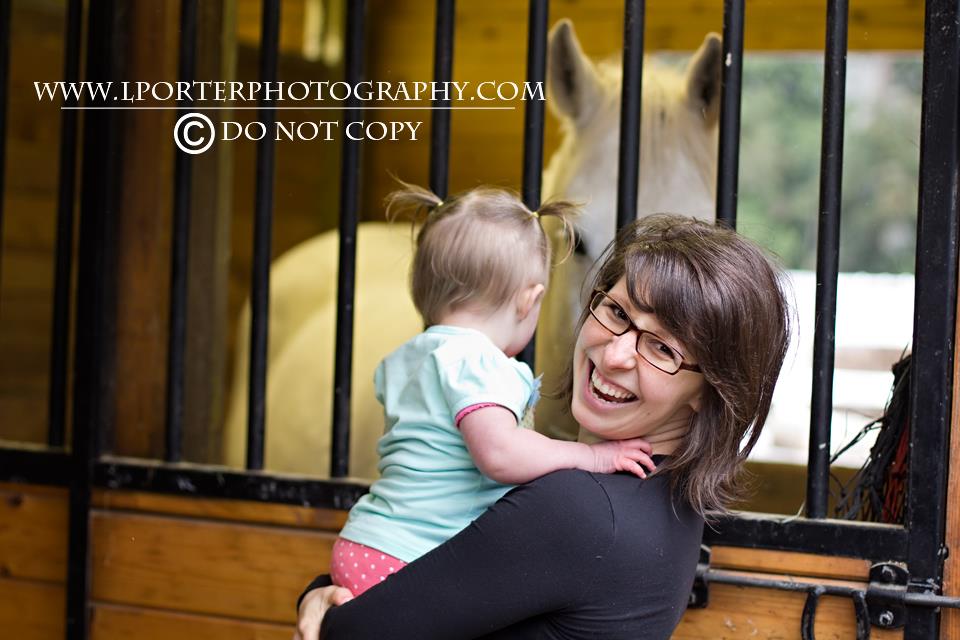
Anyway- Madisyn had a mini session photo-shoot with the lovely Miss Lindsay of Lindsay Porter Photography this past Saturday. It was held at Fox Hollow Farms in Issaquah. "You have not heard of Fox Hollow Farms", you say?! Well, Oh My Gosh you need to go! I especially LOVED going this time of year because there were baby animals of ALL KINDS! Never-mind that it was FREEZING and drizzling just enough to be annoying, Madisyn really could care less- the music and the "Neighs" were enough of a distraction from the cold that she didn't notice she was cold- and enough of a distraction that it was difficult to get her to stay in one spot long enough for a photo of HER, by herself. Seriously, if you live in the Seattle area- please check it out!The Project
Seeing as this photo-shoot had the potential to be with real, live, cuddly bunnies and that it was so close to Easter, I thought it would be appropriate for Madisyn to be Easter-y. I had pinned a Ruffled Easter Egg Shirt last year that I never got around to making and thought this would be the perfect opportunity to make something like it for Madisyn! I altered the design, as I almost always do and took pictures along the way so you can make one too, if you'd like! This will be a quick and easy tutorial. Here's my inspiration- Enjoy!
The Tutorial
1. Create stencils for the Easter Egg Shapes- I actually already had one that was the perfect size from my Specmine Art Project- I used that one for the largest egg in the middle, and cut another- smaller version out of heavy cardboard for the outer two. (I always keep these stencils I create- in one of my organizer drawers, because you never know when you'll want to use the same shape again).
2. I traced my stencils on the paper side of my Wonder Under and cut them out. I decided I wanted the two outer Eggs to be fabric, so I picked some out and ironed the two smaller eggs on to each fabric and cut around the egg shape. I laid out my 2 fabric eggs with the large egg that was still just Wonder Under to figure out how I liked them arranged on the shirt and used my iron to adhere the two small eggs.


3. Next, I used the zig-zag stitch on my sewing machine and sewed around the edges of the two small eggs, pulled the top threads through to the inside of the shirt, tied them off and cut them short. Then, I ironed the large egg in the middle (slightly overlapping) the other two.


4. Once the fabric cooled, I carefully peeled off the paper egg, leaving behind just the Wonder Under. Using my "embellishment stash", and some pretty ribbon I then started to lay out strands across the egg in a pattern that was pleasing to the eye. I cut each strand with the edges contoured to the edge of the egg, as best as I could. I would lay out about an inch wide section and then carefully iron over the strands to secure them. (Be very careful to not touch your iron to the wonder under- it makes a sticky mess).


5. Once my egg was created with my embellishments and ribbon, I used a plain stitch on my sewing machine and went around the outside to secure the edges and finish it off.

It looks cute there, but it wasn't quite complete- to finish it off- I securely sewed on boutique bows at the top of each egg. They were exactly the finishing touch the shirt needed! What do you think?!

It takes one talented photographer to come out of a dirzzly, cold photo-session (with a newly walking toddler that doesn't want to stay in one place) with ANY good photos- I might as well share with you a few more samples of Lindsay's work.


Easter is still two weeks away! You still have time to make one too! Signing off as one happy Momma-
This Project Linked Up at the Following Parties:

I love your project! I wanna make something like that for my baby girl!
ReplyDeletebryceandaub.blogspot.com
Aub- Thank you for your compliment- I'd love to see photos of what you make!
Delete-Tracie
Very cute Tracie! You are so talented!
ReplyDelete